
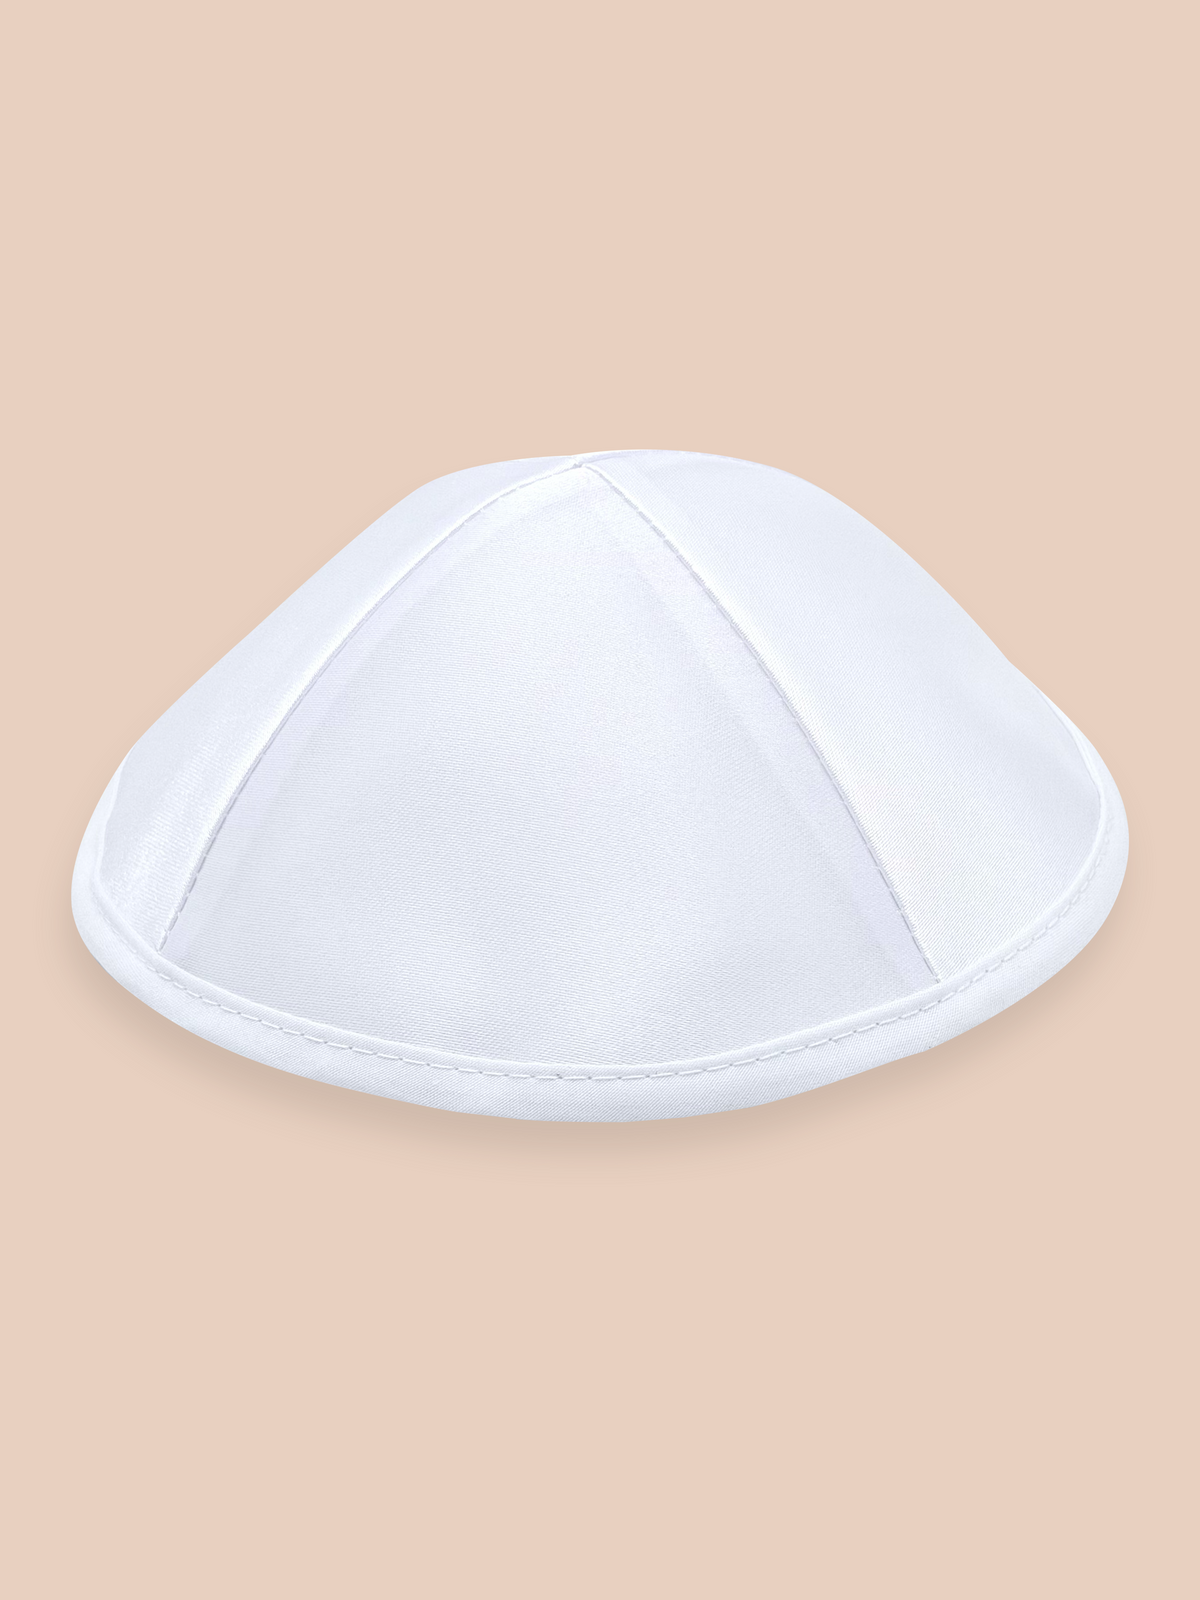
A good custom kippah order starts with a clear source: the artwork you want to use, the exact wording and a short explanation of where each element should appear. You do not need professional design experience, but separating those details makes the review easier.
Explore our custom kippot collection for logo, artwork and text options. If you have a rough idea rather than ready artwork, contact us before ordering for help preparing it. A digital proof is prepared for approval before production. Treat that proof as a final review of the design, not simply a preview to glance at.
Prepare the file for the upload you are using
The main custom-product upload guidance specifies PNG or JPG. It recommends a high-resolution PNG with a transparent background, ideally 300 DPI at print size. The separate logo upload inside the text editor accepts PNG, JPG or WebP up to 8 MB. Follow the instructions beside the particular upload field you are using.
Send the original artwork where possible rather than a screenshot of a screenshot. Check whether the file has an unwanted white box around the design. A transparent background can help avoid that issue, but it does not repair blurred lettering or missing detail.
If you only have an invitation, sketch or reference image, explain what you want to keep. Identify whether it is finished artwork to reproduce or inspiration for a new composition. Use only artwork you own or have permission to use.
Supply wording separately from instructions
Keep the exact printed wording in one place. Include the preferred spelling of each name, capitalization, punctuation and date format. Avoid sending several slightly different versions across notes and images.
For Hebrew, provide the intended text and have someone who reads Hebrew check it. Review the sequence of letters, punctuation and any vowel marks you want included. If you are unsure about wording, a name or a date conversion, resolve that before approving the proof.
Placement notes should explain the design, not replace the printable content. “Use our wedding details” is less useful than the exact names and date, followed by a separate instruction such as “names above the date.”
Prepare each supported print side
Choose the product and placement before finalizing the artwork. The custom white lined satin kippah offers outside-only, inside-only and both-side printing. Both sides carry an additional print charge. The Classic White custom option is printed outside.
For a two-sided design, label the content clearly as “outside” and “inside.” Supply the wording or artwork for each side rather than expecting one upload to explain both. Review the selected options and current price before adding the order to your cart.
Review the proof in two passes
First, read only the text. Compare it character by character with your agreed wording. Check names, dates, Hebrew, punctuation and line breaks. Ask a second person to read it without relying on your explanation of what it should say.
Then review the composition. Check the selected kippah style, each printed side, artwork orientation, relative size and spacing. Look for details that appear too fine or text that feels crowded. Product previews are approximate; the team sets the final physical print size and prepares the proof. Ask about anything that is unclear before approving.
Approve one final version
If you request changes, review the revised proof rather than assuming only one detail changed. Make sure everyone reviewing the order is looking at the same version.
Production normally takes 1–3 business days after digital proof approval, with shipping taking additional time. For broader planning, see our ordering timeline.
Frequently asked questions
Do I need a finished design?
No. You can start with an idea or reference; contact us before ordering if you need help preparing it.
Is the on-screen preview the final approval?
No. Review and approve the digital proof before printing, including both sides when selected.